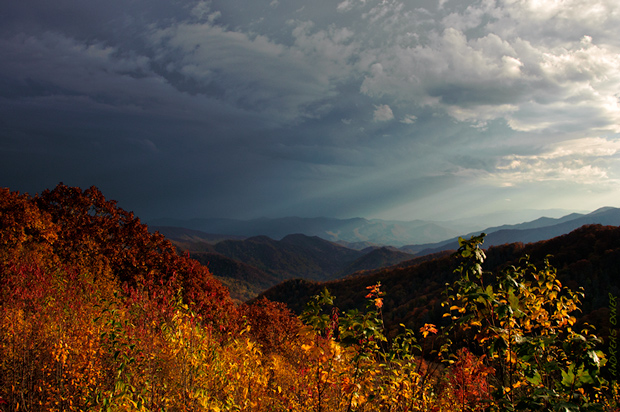
Probably most people that visit the Great Smoky Mountains drive at least once up to the mountain ridge and walk the last mile to Clingmans Dome (6643 ft / 2025m), the highest point in the National Park. We did too, even if we prefer the quieter places in the mountains. Lots of tourists up there! It is nice to be on the watchtower and have a view in all directions but I found the more interesting views on a little lower elevation along the roadside. Luckily there are many pull-outs along the roads in the Smokies that allow you to park the car and shoot your pictures safely. The clouds moved fast and the sun rays let the leaves glow whenever they touched them. It was just gorgeous.
If you are interested, here is the workflow I used for this image:
I dialed in -1EV exposure compensation to bring the clouds to their full potential and not to have any highlights blown out at the right hand side. I used a graduated filter and the adjustment brush in Lightroom 3.4 to bring back some of the exposure in the foreground. Next I used the tone curve to enhance the overall contrast a little. This is followed by the usual capture sharpening, necessary for any RAW file. No color enhancements for this picture! Next I switched to NIK Color Efex Pro 4 (I have version 3 but just used the free 15-days-trial on the new version) and worked with the tonal contrast filter. As always, my last steps are done in Adobe Photoshop. I have a special downsize algorithm that also serves to sharpen the image for the web. I learned this step from the book "Image Sharpening with Adobe Photoshop, Camera RAW, and Lightroom" by Bruce Fraser and Jeff Schewe. A book that I can highly recommend to anybody who tries to understand image sharpening. Before I save a jpeg for the web I apply my watermark. Most of the steps in Photoshop are done by pre-recorded actions and require only one click to execute them. Done deal!

