Friday night "conclusions" ;-)

Ready for take-off  

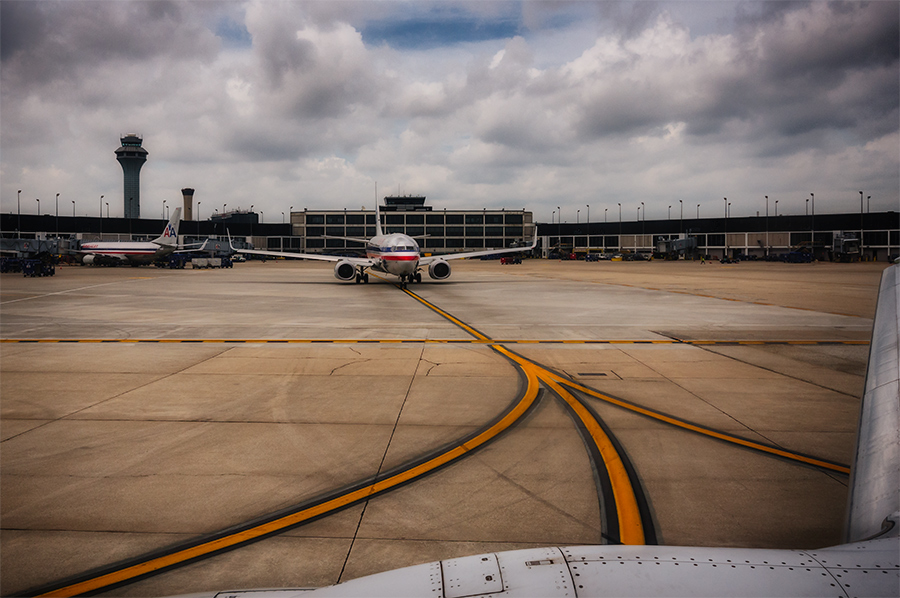
What do have these two photos in common? Not much, they weren’t even made the same day, except they were taken from the same vantage point. But, let me explain…

The first photo was made right before take off at the Chicago O’Hare Airport last Tuesday. The sky was gray, except for a few small blue slivers. While looking out the window I could see this composition coming just a second before. I made the click and I like it. All the lines lead the eye to the airplane. The clouds, the terminal building in the background, and of course the painted lines on the concrete. However, the overcast made the image look “blaahhh”. Some local saturation and overall contrast improvements in Adobe Lightroom and NIK Color Efex Pro 4, plus adding a “glamour glow” effect, and a slight vignette spawned the final result.

Storm clouds over the desert


The second photo was made Thursday on my way back from Los Angeles to Chicago. It doesn’t happen very often but I had exactly the same seat in a Boeing 737-800 as two days before. It wasn’t exact the same airplane but the window was as dirty as on the way to LA. As I said, same vantage point… ;-)

But what a difference, the light was great and coming from behind the plane as we flew east. There were some beautiful storm clouds to the south. This is nothing extraordinarily but the key for this shot was again composition. The eye may wander between the puffy clouds in the foreground and the AA-logo with the reflection on the wing but it will always return to the interesting cloud formation that was illuminated by the setting sun.

No, it doesn’t need a big camera and lens. You can make a similar image with the camera you probably have always with you, your phone. You can’t change your position much, the pilot takes care for that, but watching the scene, the light, and the lines that unfold in front of your eye will lead you to the photo you may have always envisioned…

 

Love them clouds...

Thunder head  

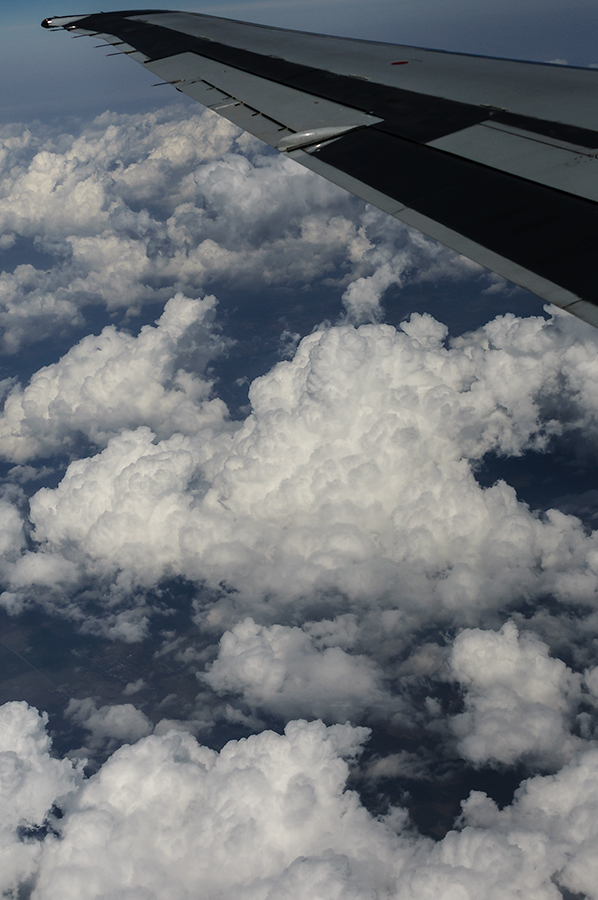
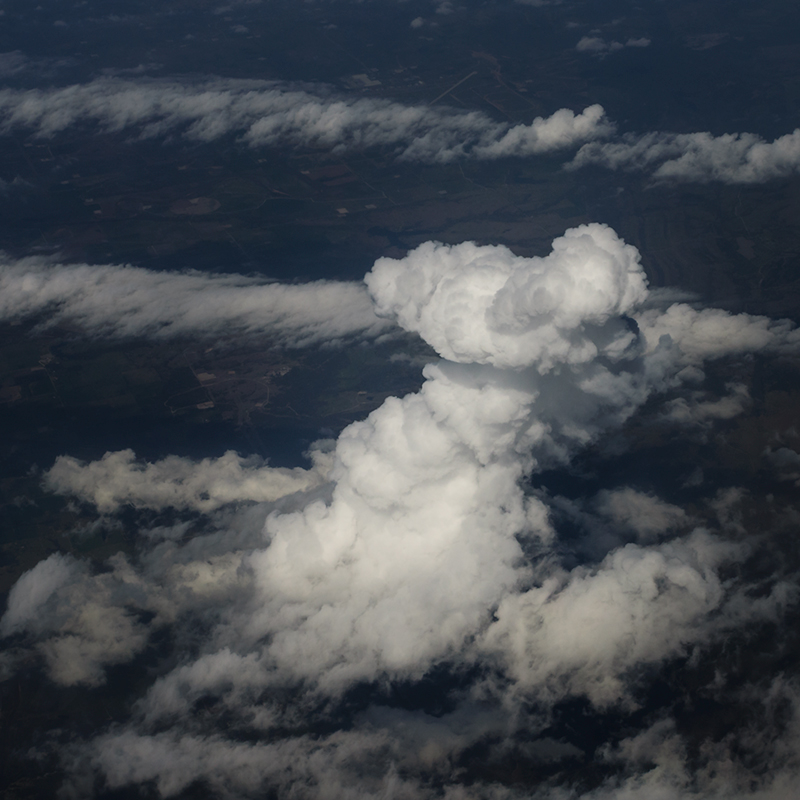
The avid reader of my blog already knows, if a photo from high in the sky shows up after a quiet week that I was on a business trip with very few opportunities for using the camera. I came back from a conference in Dallas, Texas last night. These two photos were made shortly after take-off in DFW and the shape of the clouds indicate we were flying around some heavy weather. What I didn’t knew at this time was that the weather created many flight delays and cancellations. Needless to say that I, of course, was effected and instead of having a two hour stop I spent ten hours in Chicago O’Hare. At least I got home around midnight, other people were not so lucky…


Puffy clouds


Shooting through the window of an airplane can be challenging. Little space, reflections, vibrations, or dirt and moisture on the glass are some of the difficulties you may have to deal with. My window was relatively clean and had only minor scratches this time but dealing with the tint of the glass or plastic isn’t my favorite task in the post process. I still kept it simple and just finished the RAW file in Adobe Lightroom, except for the downsizing and export as a jpeg, which I always do in Photoshop by using pre-recorded actions.

I used the Zeiss 35mm f/2 lens, which can only be focussed manually, but even with any of my AF lenses I would revert to manual focus mode for shooting through two layers of tinted glass. I love shooting clouds and making them the subject of my image. It doesn’t always turn out but it is always worth to try, and hey, there is a delete key on the computer… ;-)


At Forest Gump's turning point

Marshall Point Light  

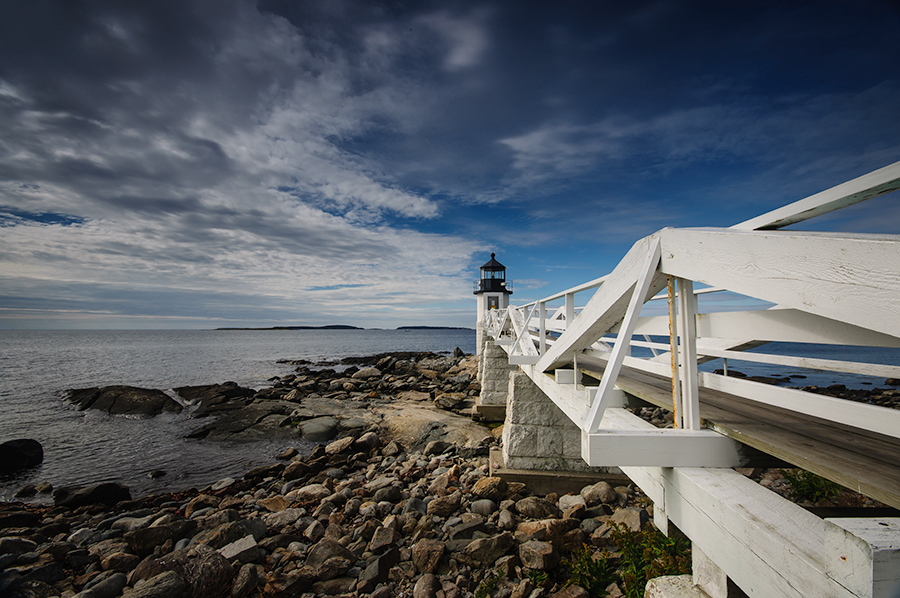
Last Saturday night I zapped through the programs on TV before I went to bed. Sure enough, one channel had Forest Gump with Tom Hanks playing. It seems there is always a TV channel that has this movie running on Saturday nights ;-). It happened to be that I just joined the movie where Forest Gump started running all across the United States. That includes the scene where he reached the east coast and turned around to run in the other direction. This scene was shot on the wooden bridge of Marshall Point Light in Maine, a place that we visited during our vacation tour in the fall of 2013.

This lighthouse is an iconic landmark and we were not the only people visiting as this image may imply. I don’t manipulate much in my photos but here I used “content aware fill”, a feature in Photoshop CC, to make five people disappear after only a couple minutes of work. Love it! It is a very useful tool for a situation like this.


Fall colors 2013 - last call

Sugar Maple Leaves  

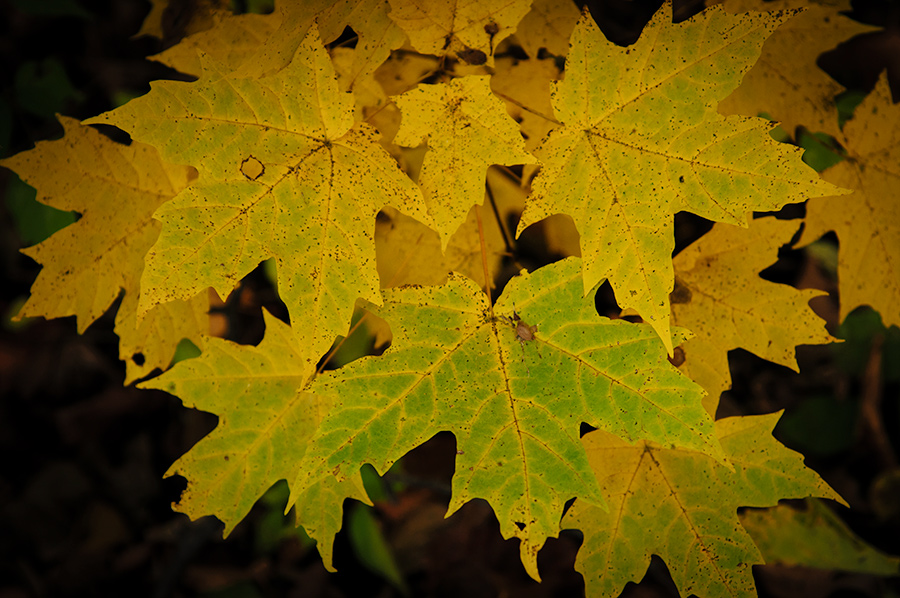
Last weekend was probably the last chance to make some images that tell the story about fall and its colors here in Eastern Iowa. Despite some night frost many Sugar Maples had still a few leaves left but they came down quickly as the wind blew quite a bit this weekend.

Maple in the rain


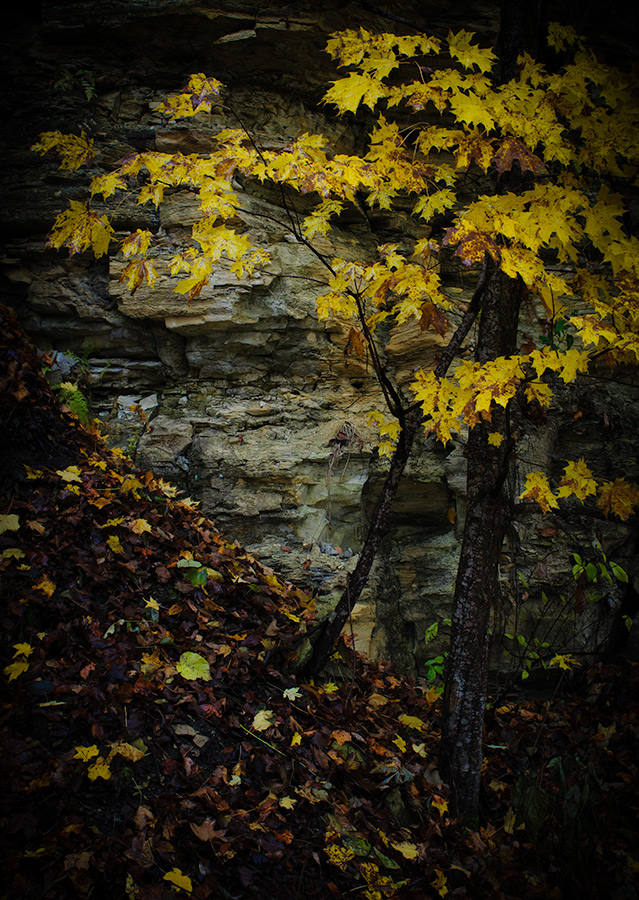
As I wrote a couple weeks ago, I try to isolate the leaves from the background to make the colors pop and draw the eye right to the subject. Exposure compensation by about one stop helps to suppress elements in the picture that would otherwise just take the attention away. There is no reason that every crack in the rocks or rotten leave on the ground needs to have detail. Yes, I know, high dynamic range is ubiquitous but I believe this type of image just needs the opposite. Even if you just use Lightroom or Adobe Camera RAW, leave the shadow slider in it’s parking position or maybe even darken the shadows. Here I applied in addition a dark vignette in Adobe Lightroom to keep the eye away from the edges of the photo.


Common Milkweed


Taking time and looking around while wandering along the edge of the timber leads to more interesting subjects that can be photographed only in fall in their particular state. This Common Milkweed had opened and exposed its many overlapping seeds, each with a tuft of silky hairs. I hope you enjoy.


Vintage cars, great subject for having some fun...

  Car details 1


Are you tired of seeing wildlife photos? Well, I'll never be but I still like to work other subjects in my photography ones in a while. Yesterday I crossed the bridge over the Mississippi into Illinois. During the summer every Thursday the owners and drivers of cars, built before 1972, meet in East Dubuque and enjoy to display their cars and socialize with each other.

I have a strong technical background and may understand most of the technical talk I heard yesterday but the reason I'm drawn into an event like this is the sheer beauty of some of the old cars on display. I enjoy watching people that have passion for the things they do and that was definitely the case yesterday evening.


Car details 2


Nobody complained about the bare blue sky and sun, except for the photographer. ;-) Our vision can differentiate, according to a Stanford study, up to 15 stops of light in one glance but most digital cameras are only able to handle a five-stop-range. My friend Dave Updegraff has a Nikon D4 and this great camera is able to handle six f-stops. Well, no matter what digital camera you hold in your hands, it  doesn't solve the light challenge we were facing yesterday evening. How can we handle it and bring some images home that look halfway decent? I looked for the cars that were parked on the westside of Main Street in the shade of the buildings and just tried to keep the sky out of the frame for my detail shots. The third image is an HDR, made from five different exposures that were merged in NIK HDR Efex Pro. Two different ways to go but even if I'm not a big fan of HDR processing, (mostly useless in wildlife photography), I do not exclude it from my tool box and see it as a valid tool for light situations that are hard to overcome.


Car details 3


As I said, I do stuff like this only occasionally, ones in a while, but my photography friend Brian over in Germany has a "led sled" that would be allowed to park in an event like yesterday without any doubt. In addition he is a very talented photographer who has some great car images in his blog. Check it out HERE!


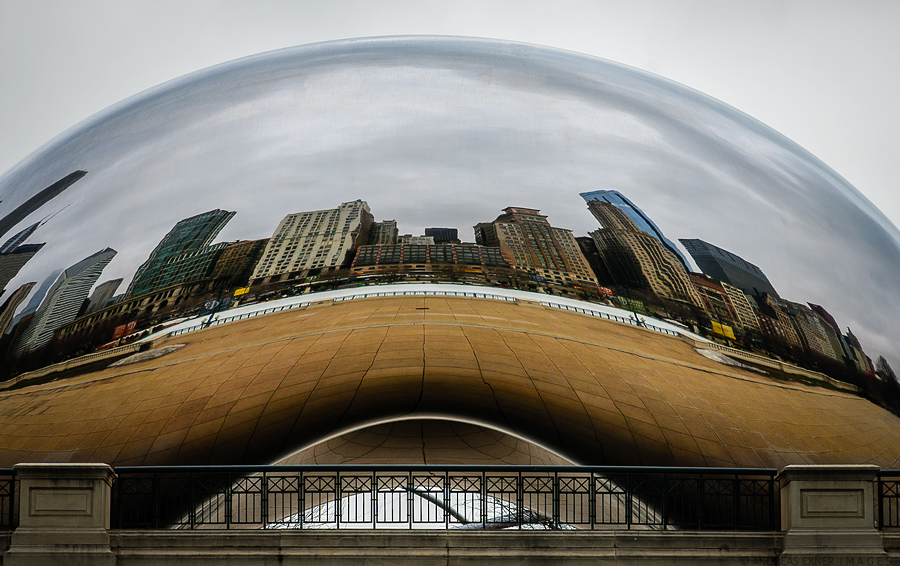
'The Bean' without people

The Cloud Gate  

Anytime I have been in Downtown Chicago during the last few years I made a visit to The Cloud Gate, aka 'The Bean', in Millenium Park. Never ever I thought it would be possible to make a picture of this great piece of art without any people in the frame. Well, last Saturday during the St. Patricks Day parade the plaza around the sculpture was blocked for the public. I don't know why this restriction was in place but here was my chance to make the click.

Because of the really dull and gray sky the image needed some enhancement. I'm testing some new software, the OnOne Perfect Photo Suite 7, in my post process work flow at the moment. So far I'm quite impressed what it can do for my photography. I really like how subtle some of the effects can be applied to an image and I believe after driving through the learning curve it can become a big time saver in my post process. Right now I'm just at the beginning of a free trial period and more testing needs to be done before I may come to a final conclusion. I still like and use the NIK Software plug-ins, especially Color Efex Pro 4.0 and Silver Efex Pro 2.0, but as many others I wonder if there is any future for these great plug-ins after Google bought NIK. Hard to believe but only time will tell...


Indoors with 32-BIT High Dynamic Range (HDR)

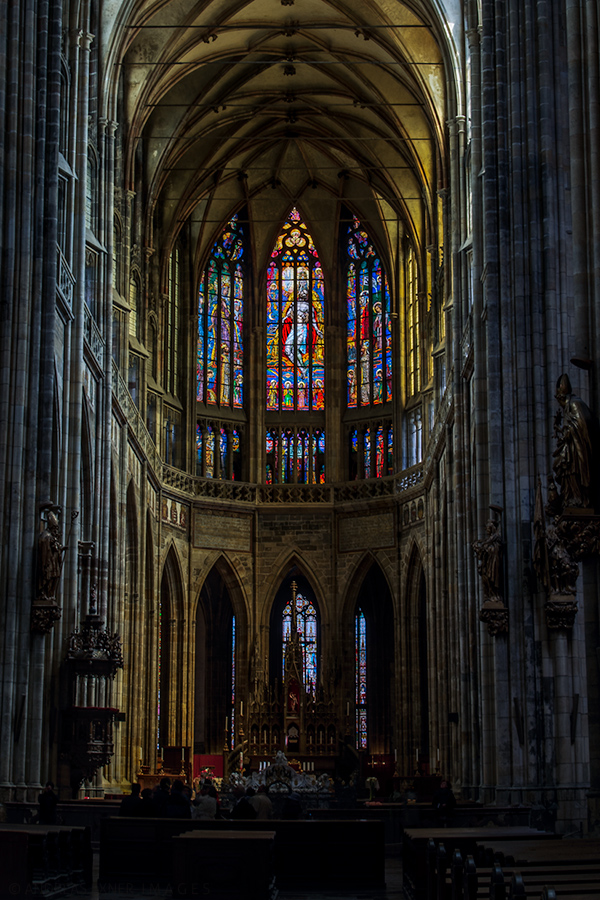
St. Vitus's Cathedral  

I like to share another image that I created with the same technical means I have described yesterday here in the blog. Indoor pictures with great architecture can really benefit from HDR, with or without ton mapping, as you can see in this photograph I made inside the St. Vitus's Cathedral in Prague, Czech Republic. There is just no way that you can catch the details in the sculptures without blowing out the highlights in the stained glass windows with a single exposure. You sacrifice one part for the other if you only make one click. By blending a series of exposures (here I used 4) into one 32-BIT image I was able to expand the dynamic range and the result is much closer to what our eyes have really seen in this wonderful cathedral. This image is part of a special project I'm working on at the moment and that I will come out with hopefully soon. So please stay tuned...


Digging into history using 32-BIT HDR

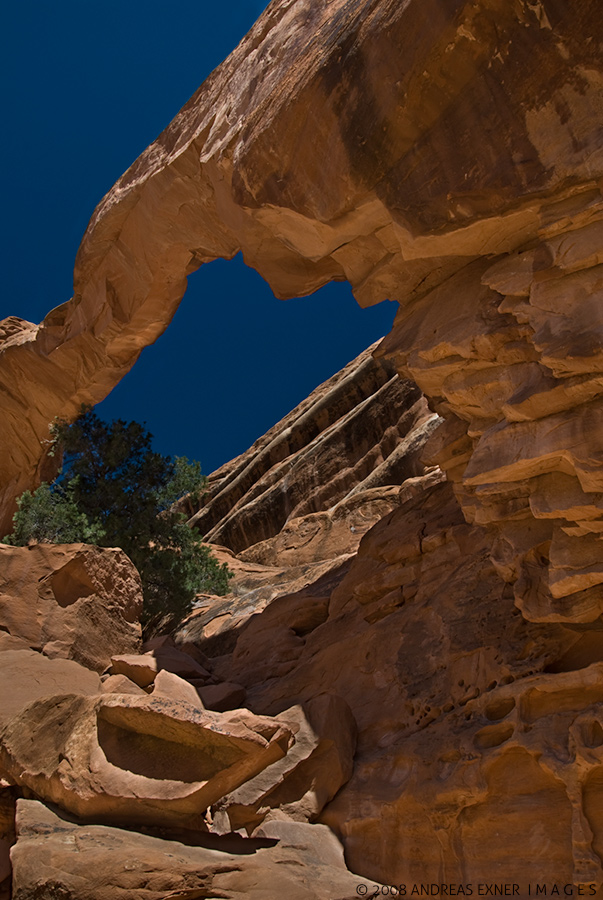
Wall Arch  

The photo I show you today was made April 18, 2008. You can't make the same picture anymore, not even if you go to exactly the same place at Arches National Park in Utah. This was Wall Arch, one of the numerous arches that gave the park its name. Wall Arch collapsed 109 days after I made the image. So what you see here is history.

We had only two days in the National Park and not every photograph was made during a time with good quality light. Any time after 8:30AM we had to deal with high contrast scenes and harsh light. I shot many images with five different exposures in order to overcome the limitations of the dynamic range in the digital camera, at that time my Nikon D200. Back home it was a time consuming process to layer the pictures on top of each other and paint with layer masks to reveal only the parts of each photo that I wanted in the final image. I remember it took me at least three nights to do that, partly due to the fact that my Photoshop skills were still very limited. Needless to say that I was very proud about my accomplishment. High Dynamic Range (HDR) software was not available or at least was not known to me at that time. The photo below was the result.


Wall Arch 2008


Because of its historic value, that it has at least for me, I wanted to redo this image with today's software and better technology. This time I used a 32-BIT HDR method that I learned a little while ago in Matt Kloskowski's blog "Lightroom Killer Tips" (see the link for this blog in the side bar on the left hand side). Starting in Adobe Lightroom I merged my five original RAW files into HDR Pro in Photoshop. From there I just saved the picture as a 32-BIT tiff-file back into Lightroom. What you will find is that the range of the Exposure slider has changed from ±5 to ±10, giving you a much wider range to work with shadows and highlights in your picture. The 32-BIT tiff-file gives you a humongous dynamic range to work with in comparison to the usual 16-BIT or 8-BIT we have at our hands.

I prefer a very natural look in my images and this method, without any ton mapping, works very well for my style of photography. But here is the best, it only took me about five minutes to create the final image from my five bracketed shots and can still use the tonal range of all five shots together.

As you can see, I cropped the new picture slightly just because I like it now better this way. Can't really say anymore, "I will do it right in camera next time I'm there".... ;-)


2012 - Looking back, part 4

Warm beer - cold food  


I had a very busy travel schedule this year and one of my business trips required my presence in Arizona. I stayed through the weekend and spent some time in the Red Rocks around Sedona. Not far from Sedona is Jerome, an old mining town, charming, and with lots of places for photography. One of them is the Gold King Mine and Ghost Town. I wrote about it in April here in the blog. Feel free to click in the archive to see more pictures about this place if you like. I couldn't be choosy about the time to be there and just had to deal with the harsh light of the Arizona sun. I did a lot of bracketing, usually between five and nine exposure steps. This one is the front porch of one of the old buildings in the ghost town. The final picture was made out of five images, each one f-stop apart, in NIK's HDR Efex Pro software. Black & white works very well for the structure of the old wood and it gives the image that nostalgic look that I like.


Talking about clouds

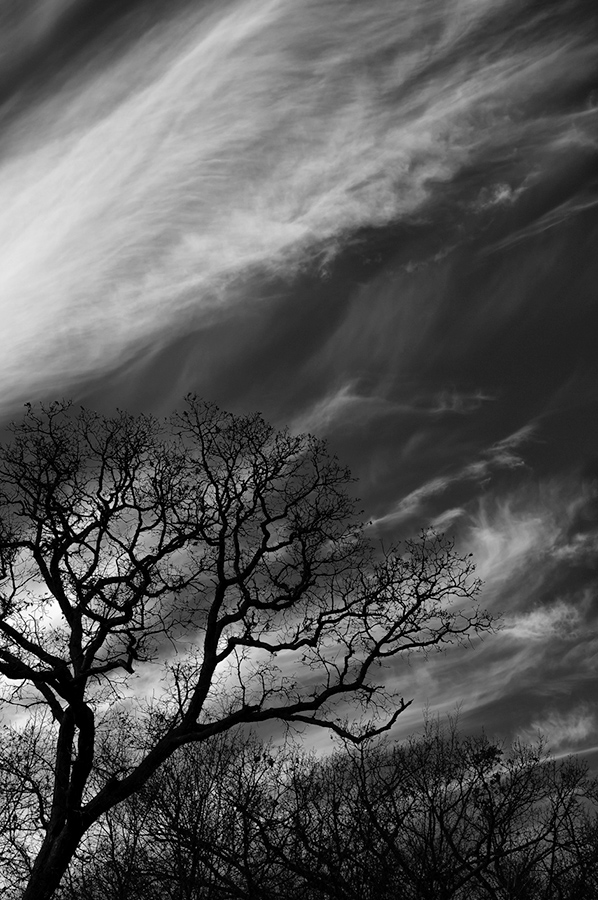
Clouds2  

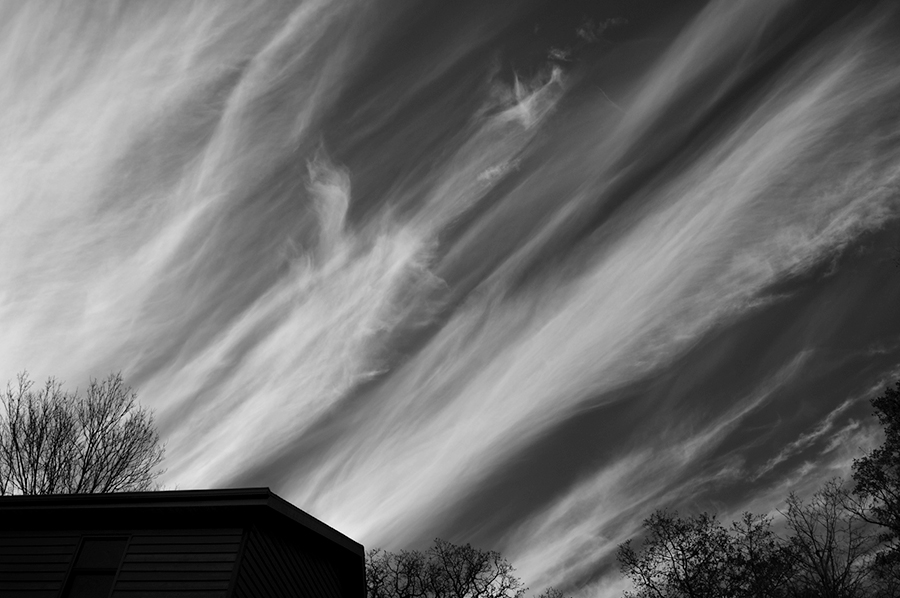
One of my favorite subjects to shoot is clouds. Not any ordinary ones, I'm talking about clouds that create some drama or an interesting pattern. Last Saturday I was cutting some wood behind the house when I saw a line of flame-like clouds showing up behind the trees that surround our neck of the woods. I dropped the axe immediately and ran inside to get the camera. We had a nice blue sky but color didn't give me the drama I saw in the shapes the clouds were producing. I knew I was shooting for a final Black & White.


Clouds2


Nobody wants to see their house on fire but I thought it looked quite dramatic. The clouds were moving fast and after ten minutes the sky was completely covered with a thin layer of clouds, which of course didn't hold any drama anymore.

A few words about the post processing. As always the RAW files get imported into Adobe Lightroom, where I usually do just the RAW sharpening and some noise removal if necessary. From there I kick out a tif-file and move over to NIK's Silver Efex Pro 2. Since I had done some other B&W images with clouds recently I created a preset that I can now use as a starting point. The next step is to open a copy of the file in Photoshop where I use pre-recorded action sets that do the downsizing and final sharpening for the web. Presets and action sets can be a big time saver sometimes if you go for the same effect. However, I never just apply them and walk away. I always do some fine tuning and tweaking of a particular slider if it improves the image.