Clean up or not to clean up?

Hot Rod  

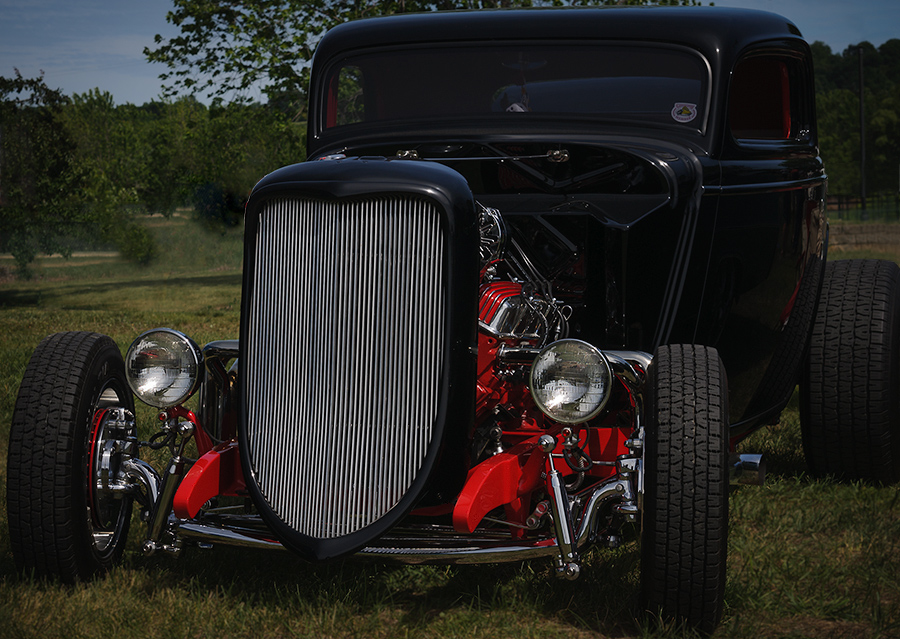
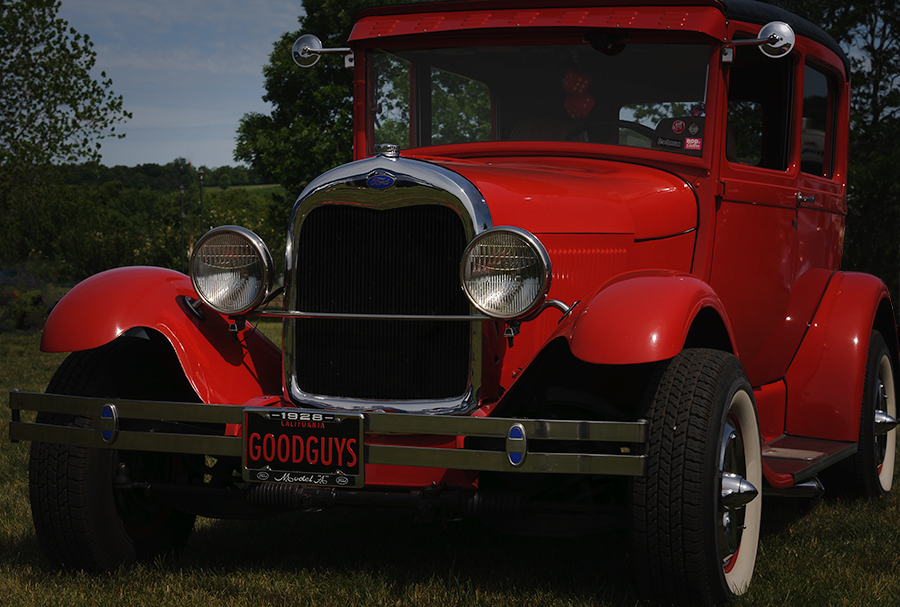
It looks like the only thing I have done lately was nature photography but I shoot other things too, just don’t show much of it in my blog here. Today I show you a couple car shots I made earlier this month. The Hot Rod Power Tour came through Dubuque almost two weeks ago and there was another event a day later in Dubuque with vintage cars on display. I don’t really care how old they are and what the whole technical background for each car is if they are just esthetically pleasing. For my wildlife photography I hardly clone out things of an image in Adobe Lightroom or Photoshop. This is reduced to very small cosmetic corrections in the background at the most. This is just my way to work with wildlife.

Ford Model A


When shooting cars that are on display at a show there is always some “junk” in the background that distracts from the subject. In this matter some flags, fence posts, wires, and even a motorcycle had to go. It’s a different game if someone uses the photos to tell a story about the event itself. What I call junk can become part of the story telling. I just went for the beauty of the cars. Anything else is just distracting and that’s why I have no problems to clean up a picture for this kind of photography.


At Forest Gump's turning point

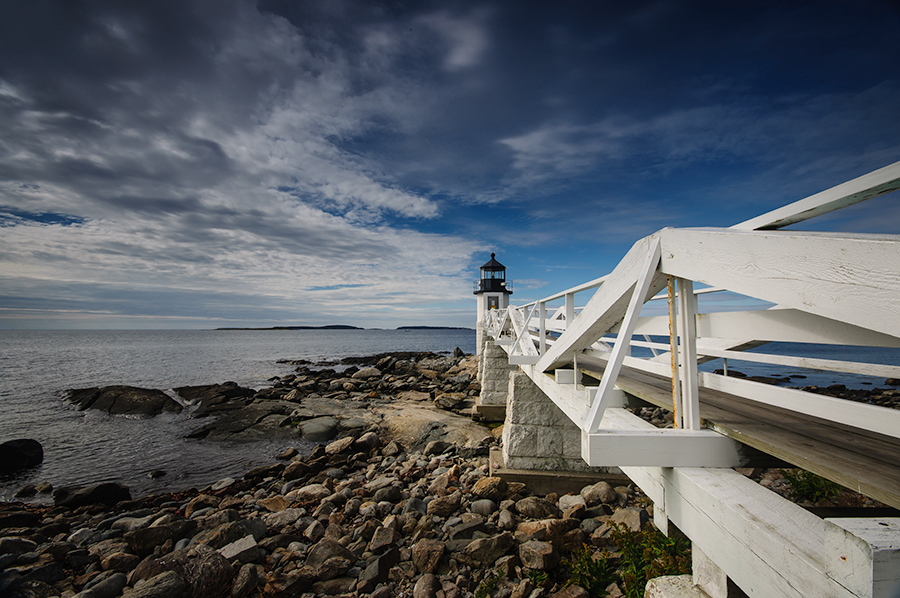
Marshall Point Light  

Last Saturday night I zapped through the programs on TV before I went to bed. Sure enough, one channel had Forest Gump with Tom Hanks playing. It seems there is always a TV channel that has this movie running on Saturday nights ;-). It happened to be that I just joined the movie where Forest Gump started running all across the United States. That includes the scene where he reached the east coast and turned around to run in the other direction. This scene was shot on the wooden bridge of Marshall Point Light in Maine, a place that we visited during our vacation tour in the fall of 2013.

This lighthouse is an iconic landmark and we were not the only people visiting as this image may imply. I don’t manipulate much in my photos but here I used “content aware fill”, a feature in Photoshop CC, to make five people disappear after only a couple minutes of work. Love it! It is a very useful tool for a situation like this.


Digging into history using 32-BIT HDR

Wall Arch  

The photo I show you today was made April 18, 2008. You can't make the same picture anymore, not even if you go to exactly the same place at Arches National Park in Utah. This was Wall Arch, one of the numerous arches that gave the park its name. Wall Arch collapsed 109 days after I made the image. So what you see here is history.

We had only two days in the National Park and not every photograph was made during a time with good quality light. Any time after 8:30AM we had to deal with high contrast scenes and harsh light. I shot many images with five different exposures in order to overcome the limitations of the dynamic range in the digital camera, at that time my Nikon D200. Back home it was a time consuming process to layer the pictures on top of each other and paint with layer masks to reveal only the parts of each photo that I wanted in the final image. I remember it took me at least three nights to do that, partly due to the fact that my Photoshop skills were still very limited. Needless to say that I was very proud about my accomplishment. High Dynamic Range (HDR) software was not available or at least was not known to me at that time. The photo below was the result.
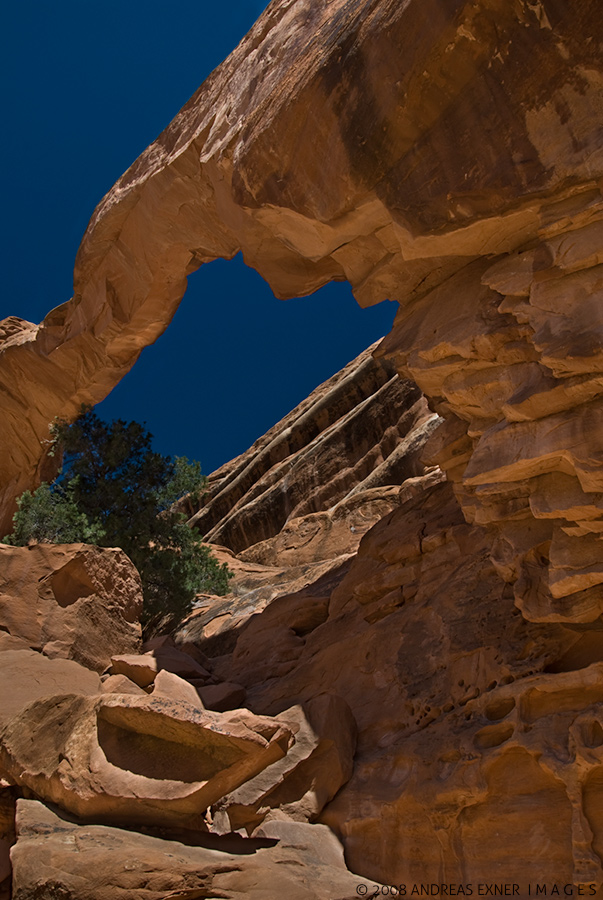
 

Wall Arch 2008


Because of its historic value, that it has at least for me, I wanted to redo this image with today's software and better technology. This time I used a 32-BIT HDR method that I learned a little while ago in Matt Kloskowski's blog "Lightroom Killer Tips" (see the link for this blog in the side bar on the left hand side). Starting in Adobe Lightroom I merged my five original RAW files into HDR Pro in Photoshop. From there I just saved the picture as a 32-BIT tiff-file back into Lightroom. What you will find is that the range of the Exposure slider has changed from ±5 to ±10, giving you a much wider range to work with shadows and highlights in your picture. The 32-BIT tiff-file gives you a humongous dynamic range to work with in comparison to the usual 16-BIT or 8-BIT we have at our hands.

I prefer a very natural look in my images and this method, without any ton mapping, works very well for my style of photography. But here is the best, it only took me about five minutes to create the final image from my five bracketed shots and can still use the tonal range of all five shots together.

As you can see, I cropped the new picture slightly just because I like it now better this way. Can't really say anymore, "I will do it right in camera next time I'm there".... ;-)


Let's talk about workflow

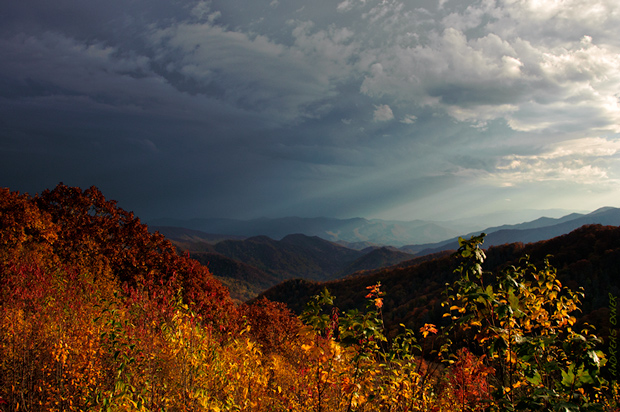
Return from Clingmans Dome
Nikon D300s, Nikkor 24-120, f/4

Probably most people that visit the Great Smoky Mountains drive at least once up to the mountain ridge and walk the last mile to Clingmans Dome (6643 ft / 2025m), the highest point in the National Park. We did too, even if we prefer the quieter places in the mountains. Lots of tourists up there! It is nice to be on the watchtower and have a view in all directions but I found the more interesting views on a little lower elevation along the roadside. Luckily there are many pull-outs along the roads in the Smokies that allow you to park the car and shoot your pictures safely. The clouds moved fast and the sun rays let the leaves glow whenever they touched them. It was just gorgeous.

If you are interested, here is the workflow I used for this image:

I dialed in -1EV exposure compensation to bring the clouds to their full potential and not to have any highlights blown out at the right hand side. I used a graduated filter and the adjustment brush in Lightroom 3.4 to bring back some of the exposure in the foreground. Next I used the tone curve to enhance the overall contrast a little. This is followed by the usual capture sharpening, necessary for any RAW file. No color enhancements for this picture! Next I switched to NIK Color Efex Pro 4 (I have version 3 but just used the free 15-days-trial on the new version) and worked with the tonal contrast filter. As always, my last steps are done in Adobe Photoshop. I have a special downsize algorithm that also serves to sharpen the image for the web. I learned this step from the book "Image Sharpening with Adobe Photoshop, Camera RAW, and Lightroom" by Bruce Fraser and Jeff Schewe. A book that I can highly recommend to anybody who tries to understand image sharpening. Before I save a jpeg for the web I apply my watermark. Most of the steps in Photoshop are done by pre-recorded actions and require only one click to execute them. Done deal!

How long for post process?

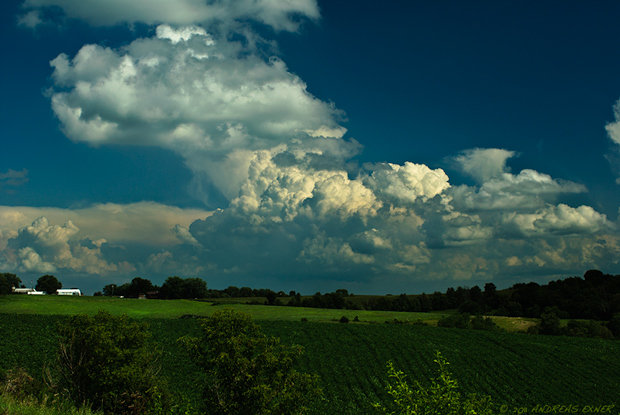
Iowa landscape
Nikon D200, Carl Zeiss Distagon T* 35 mm f/2 ZF

Here is another picture from last weekend's "driving-around-and-looking-for-clouds-tour". Landscape photography isn't always easy in Iowa, especially in the summer, but if the big clouds move in or out you have your chance for some drama, even if you just stand between corn and soybean fields… ;-)

This time it was not done with HDR processing and it is just a single image. I did my usual adjustments in Adobe Lightroom. I increased the highlights with the tone curve so that the white in the clouds showed its full potential. After the export to Photoshop, where I do usually the fine tuning and downsizing of the picture for the web, I realized that the image was still a little too hazy for my taste. Bringing up the contrast in the clouds with an adjustment layer and a layer mask took care of the problem. I think I still take too much time processing my images in post. I guess I still have to fix too many things that aren't done correctly while taking the image. But it's getting better. This one took less than five minutes to finish and to output three different copies (1x original full size, 1x jpeg 948 px long for my web gallery, and 1x jpeg 620 px long for this blog). It would be nice to know how long it takes you to process a RAW file and to create an image that you like. I'm just curious…